How to Paint Wooden Furniture at Home 2025: A Step-by-Step Guide for Stunning Results
Paint wooden furniture at home in 2025 and unlock a world of creative possibilities right at your fingertips. With today’s growing interest in sustainable living and personalized interiors, transforming old furniture into stylish statement pieces has never been more popular—or more satisfying.
Whether you’re a first-time DIYer or a seasoned home decorator, this trend is all about giving your space a fresh look without the hefty price tag.
Paint wooden furniture not just to refresh a room but to make a statement. In an era where individuality and eco-conscious choices matter, upcycling wooden pieces allows you to merge creativity with sustainability. From sleek modern finishes to charming rustic vibes, a simple coat of paint can completely redefine the character of a piece and elevate your home’s aesthetic.
Paint Wooden Furniture projects are also the perfect weekend activity for homeowners looking to express their personal style. With new paint technologies, user-friendly tools, and endless inspiration online, 2025 is the ideal time to roll up your sleeves and give that old dresser or coffee table a brand-new lease on life.
Why Paint Wooden Furniture?
Painting is an affordable way to refresh your space, express your personal style, and breathe new life into old or outdated pieces. With the right materials and techniques, even beginners can achieve a professional-looking finish.
What You’ll Need
Before you start, gather these essentials:
- Drop cloths or old sheets (to protect your work area)
- Sandpaper (medium and fine grit)
- Tack cloth or a clean, damp rag
- Screwdriver (for removing hardware)
- Painter’s tape
- Primer (for better paint adhesion)
- Paint (latex, chalk, or acrylic paints work well)
- Paintbrushes and/or foam rollers
- Clear sealer or topcoat (optional, for added durability)
Step-by-Step Guide
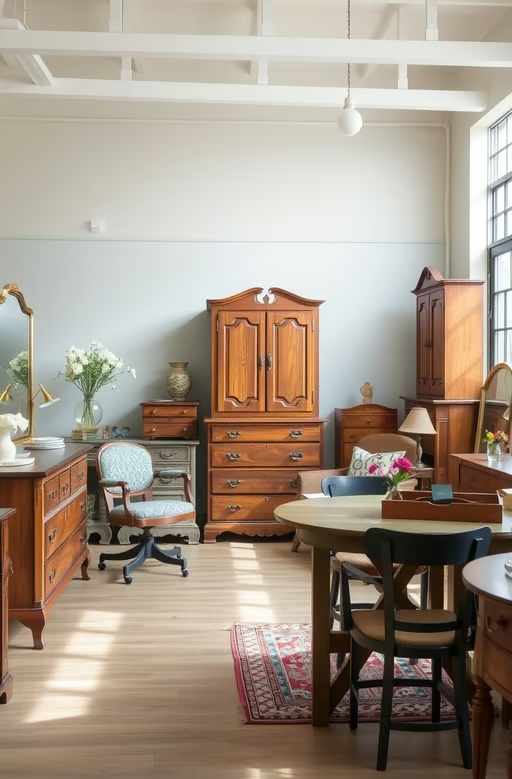
Step 1: Choose Your Piece Wisely
Before you begin, it’s important to choose the right piece for your project. Not all furniture is created equal, and the success of your makeover largely depends on the material and condition of the item. Paint wooden furniture that is made of solid wood for the best results, as it holds paint well and offers a smooth, durable finish.
Avoid heavily damaged pieces or those made from laminate or particleboard unless you’re prepared to invest extra time in surface prep. A good foundation ensures your effort pays off with a beautiful and lasting transformation.
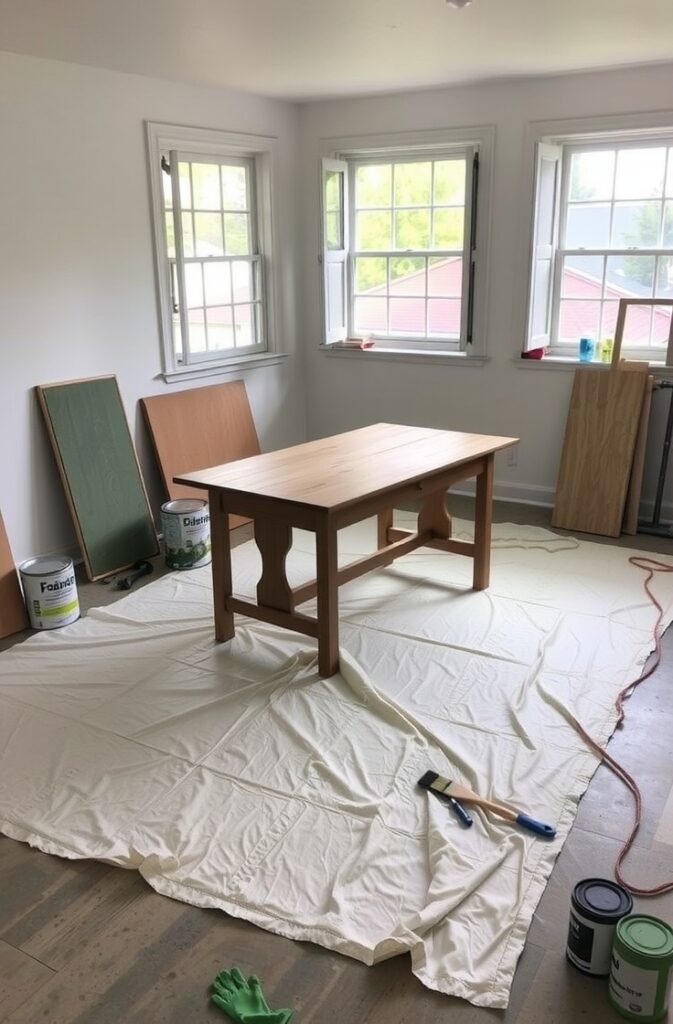
Step 2: Prep Your Workspace
Before you begin to paint wooden furniture, it’s essential to set up a clean, organized workspace to ensure the best results. Choose a well-ventilated area—preferably outdoors or near an open window—to allow for proper airflow while working with paint and primer.
Lay down a drop cloth or old sheet to protect your floors from spills and drips. Remove any nearby items that could collect dust or be damaged during the process. Having a designated, clutter-free space not only makes it easier to move around the furniture but also helps you focus and enjoy the creative process.
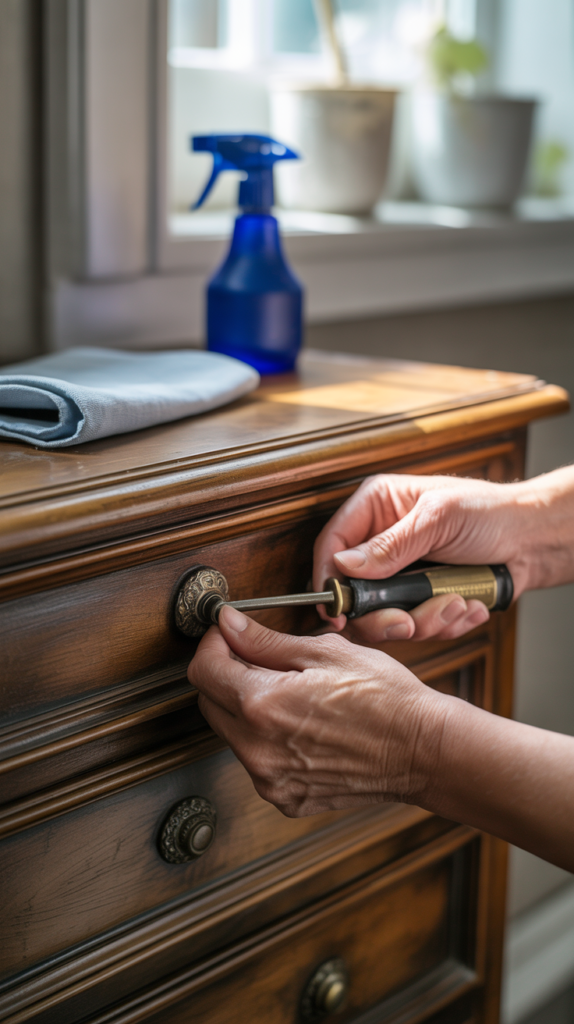
Step 3: Remove Hardware and Clean the Surface
Before you begin to paint wooden furniture, it’s essential to remove all hardware and give the surface a thorough cleaning. Take off knobs, handles, hinges, or any decorative elements using a screwdriver to ensure they don’t get in the way during the painting process.
Once the hardware is removed, clean the entire piece with a mild soap and water solution or a gentle degreaser to eliminate dust, grime, and oily residue. This step creates a clean, smooth foundation that helps the paint adhere properly and ensures a long-lasting finish when you paint wooden furniture.
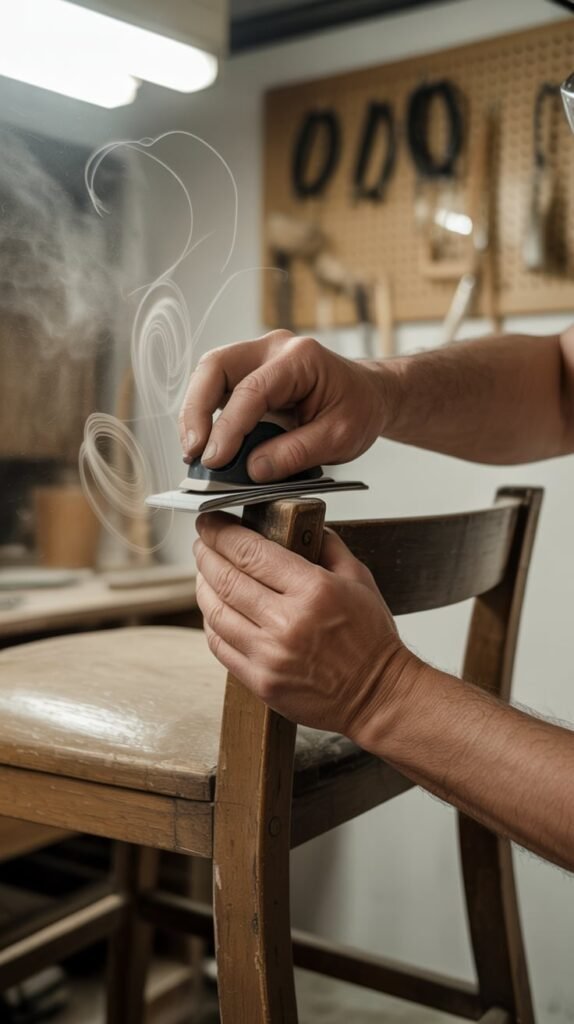
Step 4: Sand the Surface
Before you begin to paint wooden furniture, sanding the surface is a crucial step you shouldn’t skip. Sanding helps remove any old finish, smooths out imperfections, and creates a slightly rough texture that allows the new paint to adhere properly.
Use medium-grit sandpaper to start, especially if the surface is glossy or has visible flaws, then switch to fine-grit sandpaper for a smooth finish. Taking the time to sand thoroughly ensures your paint job lasts longer and looks more professional once complete.
Step 5: Apply Primer
Before you paint wooden furniture, applying a quality primer is a crucial step that should never be skipped. Primer creates a smooth, even surface that helps the paint adhere better and last longer, especially on porous or previously finished wood. It also blocks stains, prevents tannin bleed, and ensures that your final color appears true and vibrant.
Use a brush or roller to apply a thin, even coat, and let it dry completely according to the manufacturer’s instructions before moving on to the paint. Taking the time to prime properly sets the foundation for a flawless, professional-looking finish.

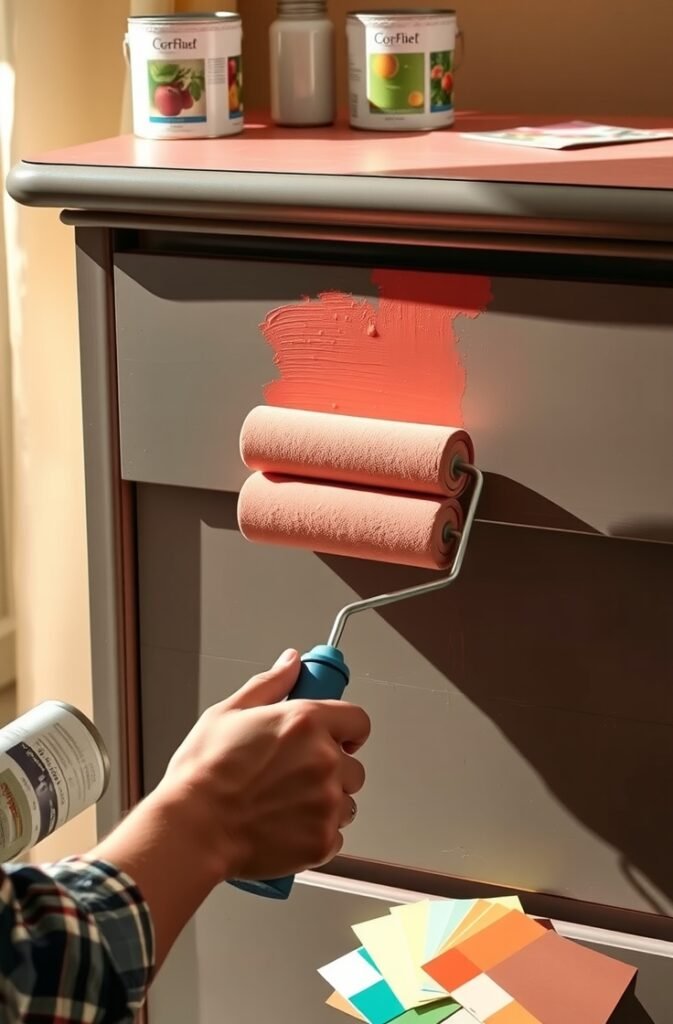
Step 6: Paint Like a Pro
To paint wooden furniture like a pro, it’s all about technique, patience, and the right tools. Start by applying thin, even coats of paint, allowing each layer to dry completely before adding the next.
This helps prevent streaks, drips, and uneven coverage. Use a high-quality brush for detailed areas and a foam roller for smooth, flat surfaces to achieve a flawless finish. Whether you’re going for a bold color or a soft, neutral tone, taking the time to properly paint wooden furniture will result in a durable and polished look that feels professionally done.
Step 7: Seal the Deal
To truly finish strong when you paint wooden furniture, applying a clear sealer or topcoat is the final—and essential—step. This protective layer helps preserve your hard work by shielding the surface from scratches, moisture, and daily wear and tear.
Whether you choose a matte, satin, or glossy finish, sealing enhances the durability and appearance of your project, especially for high-use items like tables, chairs, or dressers. Think of it as the polish that makes your freshly painted wooden furniture look professional, last longer, and stay beautiful for years to come.
Pro Tips for a Flawless Finish
- Be patient. Don’t rush the drying process—it can lead to smudges and uneven finishes.
- Use quality tools. Cheap brushes can leave streaks and shed bristles.
- Test first. Try your chosen paint on a small, hidden area before covering the entire piece.
- Get creative. Consider using stencils, two-tone finishes, or distressing techniques for a custom look.
Final Thoughts
Painting wooden furniture at home isn’t just a budget-friendly makeover—it’s also a fun, satisfying project that lets you personalize your space. With the right prep and a little creativity, you can transform even the most tired piece into a statement-maker.
So go ahead—grab that brush, put on your DIY hat, and let your furniture shine!